

How Long To Wait After Cleaning Tank Vape
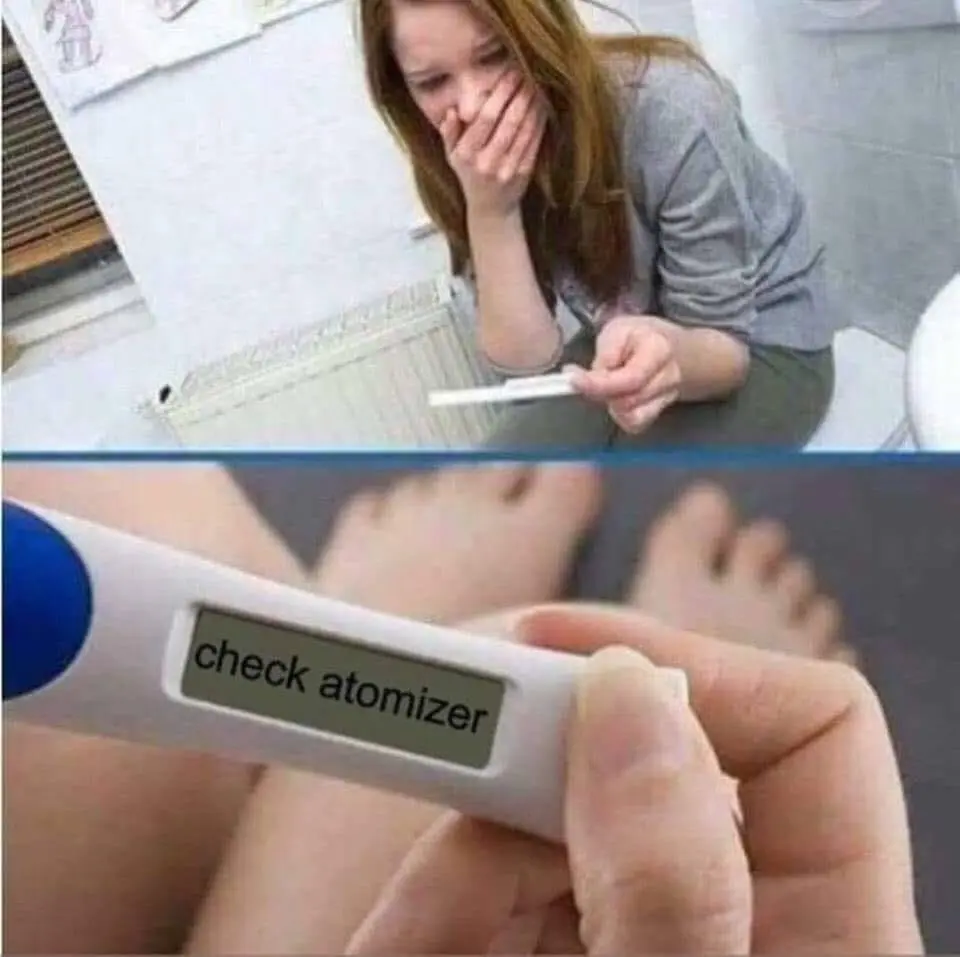
It'due south the message that no vaper wants to see: the dreaded "Cheque Atomizer" or "No Atomizer".
All vapers will experience this trouble at some betoken in their journey, and it tin can happen suddenly and without whatever apparent cause. Thankfully, while a fleck frustrating, this is an piece of cake trouble to ready.
"Check Atomizer" or "No Atomizer" volition appear when your vape mod or pod vape isn't reading your coil correctly. This can exist due to the 510 connector not reading properly (where the tank screws onto the modern), the coil not making proper contact inside of the tank, or possibly a curt.
But put, if your mod can't read your tank and coil resistance properly, information technology won't be able to deliver power and therefore won't work. In this quick guide y'all'll learn how to ready this mutual badgerer and you'll be back to vaping in no time!
How to Prepare Cheque Atomizer/No Atomizer On Your Vape Mod
How to Set Check Atomizer/No Atomizer with a Vape Tank
one. Endeavor Another Tank/Mod
This is the best way to know if at that place's truly a problem. If you have another tank handy, you tin can try doing a switch. Take the tank off of your current modern and supercede information technology with another tank. If your mod is reading the new tank correctly, information technology could be a problem with the coil on your other tank. You might also want to make clean the contact points on the tank that was giving you the fault.
If your mod is still reading "check atomizer" with a new tank, it's probably a problem with your modern.
Y'all tin can also see if your tank reads "check atomizer" on another mod. If yous put the tank on another mod and it gives you the same fault, it'south almost definitely a problem with the contacts on the tank or the curlicue inside. See our next two tips.
ii. Clean Your Contact Points

Over fourth dimension, dirt, grit, and ejuice can collect in your 510 connector and this tin crusade your mod to read Cheque Atomizer/No Atomizer. Beginning past removing the tank from the mod and audit the threading where the tank screws in for dirt, dust, or ejuice. Do the same with the 510 connector on your mod.
Clean out the contacts with a paper towel, and screw your tank back onto your mod. Ensure that your tank is on firmly, just take care not to overtighten it. Bank check to run across if this fixes the problem. If not, try our next solution.
iii. Check the 510 Pin on your Tank
If the 510 pin on your tank is damaged (where it connects to the mod) so this will cause a "Check Atomizer" or "No Atomizer" error. This is because your tank isn't making a proper connection with your mod. Fortunately, sometimes it's an easy fix.
If yous tin can unscrew the base of your tank so practise so. Within the bottom section of the tank (usually the airflow command ring) at that place should be a plate. Push this plate downwardly from the inside then that the 510 pin is sticking out once more from the bottom of the tank. If it doesn't push down then you lot might have to plough the plate to screw information technology back down.
Reassemble your tank and cheque to see if this fixes the error.
4. Check the 510 Connector on your Mod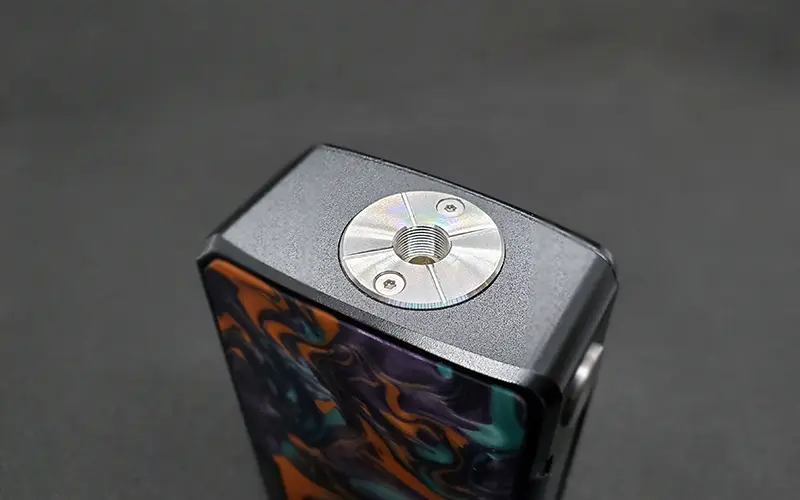
Only like the 510 pin on your tank existence damaged, a damaged 510 connector on your mod will also cause a "Check Atomizer" or "No Atomizer" error for the same reason: the tank isn't properly connecting to the mod.
Unscrew your tank from your mod and have a look at the 510 connection. If it looks similar it'due south pushed in as well much and so this could be the issue. Most 510 connectors are spring loaded and sometimes they can get stuck.
Take a screwdriver and gently button down on the 510 connector inside of the mod. This tin can help 'reset' the pin and allow it to jump support. But if this doesn't work there isn't much else you lot can practice.
You have iv options at this betoken:
- Transport information technology in to the manufacturer if you're within the warranty period
- Accept it to your local shop for aid
- Try to set up it yourself and risk damaging the mod even further
- Purchase a new mod
5. Reseat Your Coil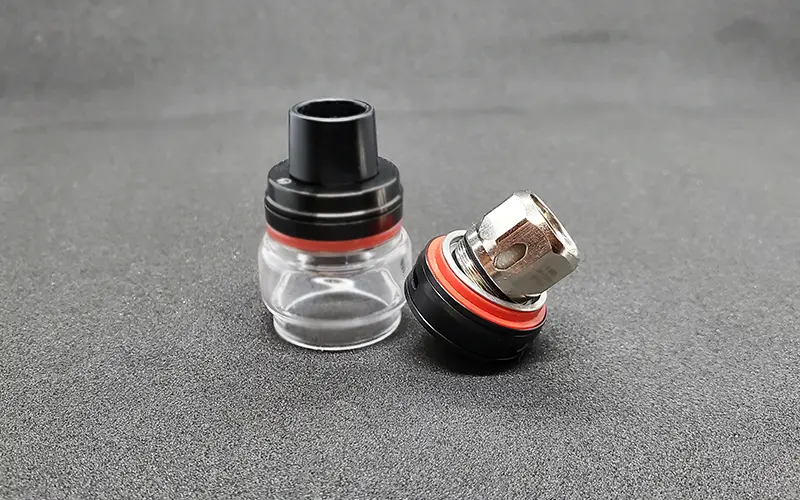
Sometimes a check atomizer error can be caused by your curl. If cleaning your contact points didn't work then you tin try reseating your whorl. Y'all'll desire to have autonomously your tank every bit if yous were changing the ringlet. Unfortunately, this can exist a fiddling bit messy and isn't ever convenient to practice if you have a considerable corporeality of ejuice left in your tank.
In one case you've taken apart your tank, unscrew your roll from the base of operations of the tank. Now, y'all'll desire to clean the bottom of the coil where it screws into the tank and makes contact. You'll besides want to clean your tanks contact indicate with the mod besides. In one case washed, reseat your coil, and reassemble your tank. Cheque to see if this fixes the "Cheque Atomizer" error. If your tank however reads the aforementioned mistake later following the previous steps, it might exist time for a new ringlet. If the coil is relatively new and so you may accept received a dud. Information technology sucks, but it does happen.
How to Prepare Check Atomizer/No Atomizer/Atomizer Short with an RDA/RTA/RDTA
If y'all're using an RDA and your modernistic is displaying a "Check Atomizer" or "Atomizer Short" fault then y'all should first follow steps 1-4 from the previous section. If that doesn't aid and then you lot tin can try the following to get information technology working once more:
1. Did y'all Build Besides Low?
If your build resistance on your RDA is likewise low some mods will deliver an error message. This is a safety feature on some mods and it's there to keep you prophylactic. You should always be using an Ohm reader or regulated mod to build your coils. But more importantly, you should e'er know Ohm'due south Law and practise proper battery safety.
Brand sure that your build isn't too low for your modern and try over again.
2. Check for Loose Pieces of Wire
With an RDA there could be left over pieces of wire stuck in the build deck. Loose pieces of metal on the build deck volition cause your mod to display "Cheque Atomizer" or "Atomizer Brusque". Even very small pieces or trimmings of wire can cause a short or a check atomizer error on an RDA/RTA/RDTA.
Showtime, audit the build deck closely for loose pieces of wire or other foreign objects. If you lot find something, remove it and test your RDA/RTA/RDTA on your mod. If it'due south still reading "Check Atomizer" or "Atomizer Brusque" and so move on to the side by side step.
3. Make sure your Coils are Installed Properly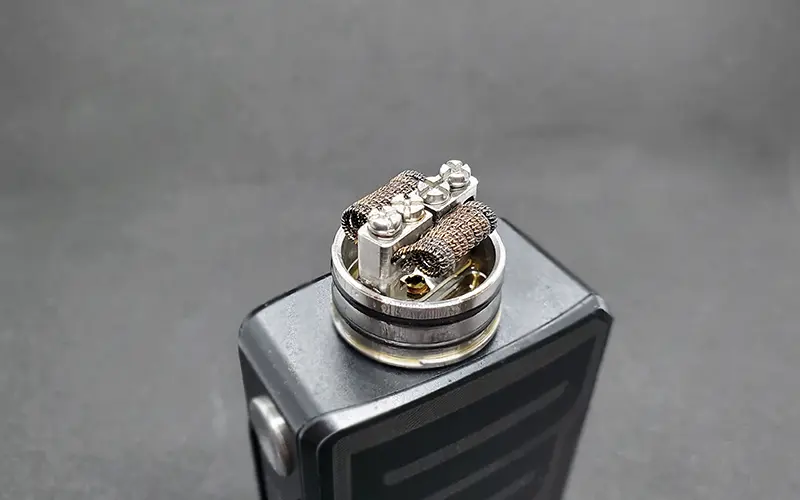
This might seem obvious but it's always worth checking. You might think that you lot installed your coils properly into the build deck merely some rebuildable decks tin be confusing. You might have installed the coils into the wrong terminals. Make sure that your coils are installed with 1 leg in a positive terminal and i leg in a negative final. This small oversight can ofttimes cause the dreaded "Cheque Atomizer", "No Atomizer", or "Atomizer Short" errors.
4. Are your Coils Touching the Build Deck?
If your coils are touching the build deck and so this tin can pb to fault letters on your vape. Be certain that your coils are installed properly and that only the legs are in contact with the build deck. Reposition your coil using a screwdriver or coiling rod if it'due south touching some other part of the build deck.
How to Fix Check Atomizer/No Atomizer On A Pod Vape
If your pod vape isn't firing, has a blinking LED and won't burn, or says Check Atomizer or No Atomizer, you tin follow a few of the same steps listed to a higher place for tanks:
1. Clean Your Contact Points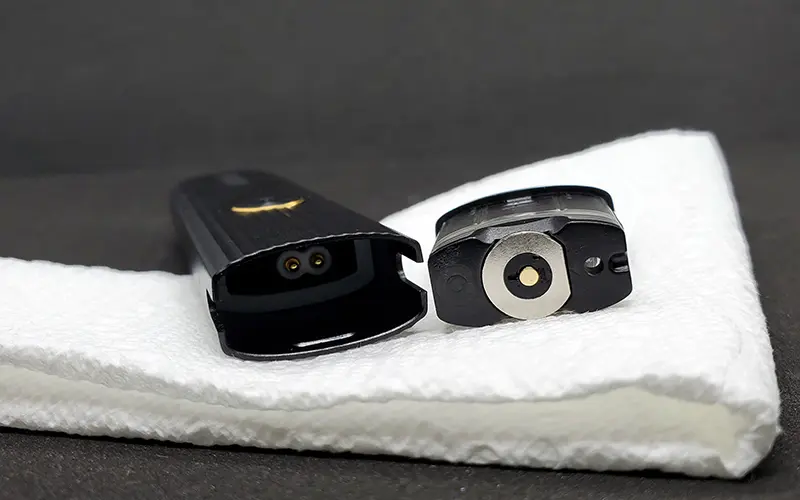
The showtime stride y'all should try if your pod vape isn't firing or says check atomizer is cleaning out your contact points. Take the pod out of your pod vape and check the bottom of the pod for any dirt or ejuice. Also check inside your vape where the pod attaches to it. If you see any ejuice or clay, clean it out with a paper towel then reinsert the pod and try again.
Dirt or ejuice tin can forbid a proper connection between your pod and the device and this can cause the device to non burn or to throw a check atomizer/no atomizer error.
In add-on to dirt and ejuice potentially causing a bad connection, ejuice can also get into the circuit board of some pod vapes and cause them to malfunction. If y'all see a lot of ejuice under the pod in your device, this could potentially be the reason it'southward no longer working properly.
If cleaning your contact points doesn't resolve the outcome and your pod vape still isn't working and then move on to step ii.
2. Check Your Contact Points for Impairment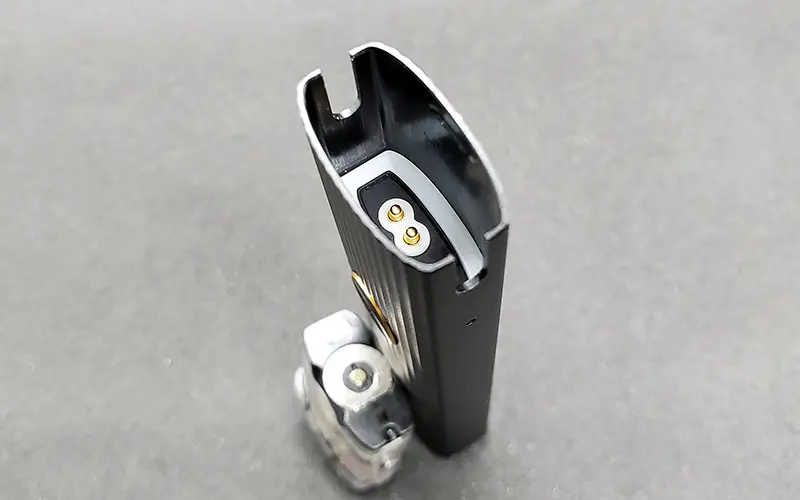
If cleaning the contact points doesn't fix the check atomizer error on your pod vape, you'll want to carefully examine the contact pins/plates on your pod vape and on your pod for impairment.
Some pod vapes take spring-loaded pins that tin become stuck in a pushed down position. Yous'll want to check and run across if this is the instance with your pod vape. If you lot see a stuck pin, you can try to lightly push it down with a small screwdriver to get it out. If this doesn't work, using a paper towel to endeavor to clean out around the pin may get it to pop back up.
Other pod vapes have solid pins or contact plates that can be bent or otherwise break. Cheque to meet if any of your contact points are aptitude, worn out, or broken. If a contact point is aptitude you lot may exist able to advisedly bend information technology back into its correct position. If you lot meet a cleaved contact bespeak, this usually isn't salvageable and the device will have to be replaced or repaired through your manufacturer's warranty (if the device is nonetheless within the time-frame).
iii. Reseat your Coil/Pod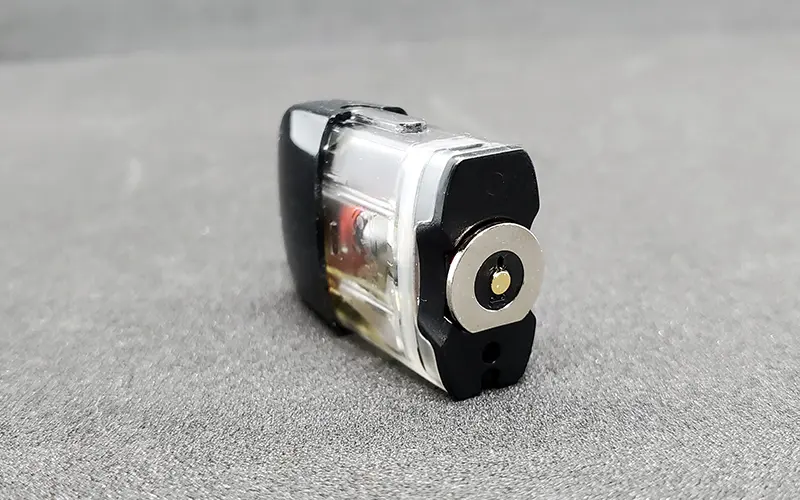
Sometimes the most unproblematic fixes are the nigh effective. If your pod vape uses replaceable coils you can try removing the coil and reinserting it into the pod. Ensure that you're lining up the coil properly if there are any notches that demand to be lined upwards and that the coil is snugly, firmly, and properly seated in the pod.
If your pod vape uses a replaceable pod and so you can try removing the pod, rotating it 180°, and reinserting information technology into your device. Sometimes this tin fix the issue. Likewise, make sure that your pod is completely inserted into your pod vape. Some devices have pods that magnetically adhere, but also need to be pushed downwardly to 'click' into identify properly with the device.
4. Try Another Coil/Pod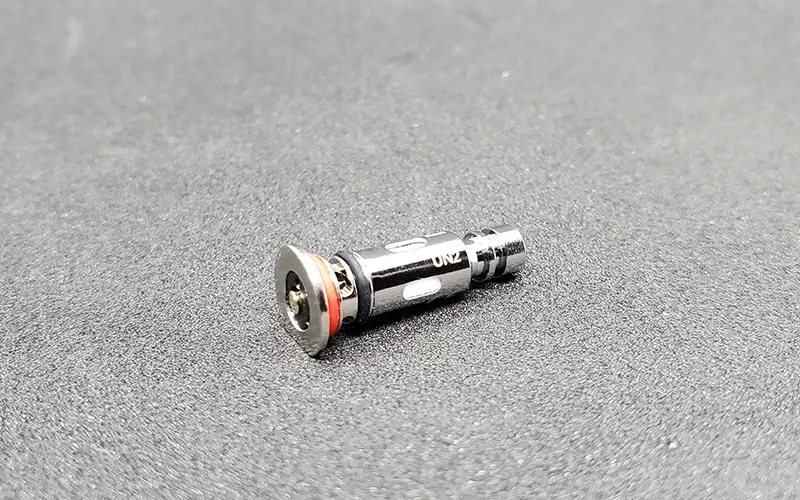
If you've tried all of the to a higher place steps and nada is working, the trouble could exist that your gyre or pod has an event. Try using another coil/pod.
Summary
Getting an error message on your vape is frustrating. Hopefully the steps up above have helped you lot get back to vaping. If this guide helped you, share information technology with your friends who vape! They'll probably experience a "Bank check Atomizer" or "No Atomizer" error at some point in their vaping journey so why not requite them a heads upwardly.
If this helped you, nosotros would love to hear from you lot! Leave a comment downward beneath and let us know well-nigh whatever boosted tips that you call up might assist!

Source: https://versedvaper.com/how-to-fix-check-atomizer-error/
Posted by: lyonsoneve1970.blogspot.com
0 Response to "How Long To Wait After Cleaning Tank Vape"
Post a Comment